How to Print Digital Camera Photos in the Darkroom: The Ultimate Guide
There has been a debate on social media about film vs digital, but my stance has always been, "I shoot with film because I want to make darkroom prints."
However, an idea suddenly struck me. "It's possible to make darkroom prints from data shot with a digital camera, isn't it?"
This method involves using a digital negative, which is a common technique in platinum printing. Having experienced platinum printing several times in the past, I decided to create a digital negative from data shot with a digital camera and print it in my darkroom.
When I posted the prints on Instagram, I received many questions like, "How did you print photos taken with a digital camera in the darkroom?" Therefore, in this post, I will explain the method step by step.
Introduction: What You Need to Print Digital Camera Photos in the Darkroom
From here on, this post is aimed at those who have experience with darkroom printing. Therefore, I will skip over the basic requirements and knowledge needed for darkroom printing.
The key item you need to print photos taken with a digital camera in the darkroom is the "digital negative" mentioned earlier.
In traditional darkroom printing, you expose photographic paper using a film negative in an enlarger. However, with a digital camera, there is no film negative. This is where the digital negative comes in, which is a negative created from digital data. Here is an example of a digital negative:

I use PICTORICOPRO Digital Negative Film TPS100, which is specifically designed for creating digital negatives, but it might be possible to use regular OHP film as well. I plan to try it out next time.

Digital negatives are created using an inkjet printer. It's recommended to use a printer that can handle more than four types of black ink. I use the Epson SC-P700. While the SC-P700 is somewhat expensive, it produces incredibly beautiful prints, making it a great choice for those who want to create exhibition or sale prints.


In addition to the digital negative film and printer, you'll also need a glass plate. Those who have printed contact sheets in the darkroom will likely have one already.
This is used to ensure the digital negative is in close contact with the photographic paper. I use non-reflective glass sold at Yodobashi Camera, but since I couldn't find a good product on Amazon, I'll just provide a reference link. (Reference Product)

That's all you need to prepare. From here, I will explain the specific steps.
Step 01: Create a Digital Negative from Your Data
The digital negative will be created using Photoshop. First, open the image you want to turn into a digital negative in Photoshop.

Next, go to Image > Adjustments > Invert to invert the black and white.


Then, select Image > Adjustments > Curves. I used a preset I received when creating platinum prints. If you want the Curves preset, send me a DM on Instagram, and I'll share it with you.


Ok, then, here’s an important point: you need to ensure that the printing side of the digital negative, the side with the ink, is in direct contact with the photographic paper.
Even a slight gap between the ink side and the photographic paper can cause the final image to be out of focus.
Therefore, in Photoshop, flip the image horizontally.

Finally, print this data. This completes your digital negative.
Step 02: Set the Digital Negative in the Enlarger
Now that the digital negative is ready, it's finally time to start printing! But there's one more thing to prepare before we begin.
It may seem obvious, but the darkroom is dark. Therefore, you need to set the digital negative in the enlarger beforehand so it can be placed in the ideal position on the photographic paper.
First, place the photographic paper (either one that has already been exposed or a piece of paper of the same size) and the digital negative, and tape the top of the digital negative to fix it in place. As mentioned earlier, make sure the ink side of the digital negative is facing down.


Additionally, to ensure the photographic paper can be placed in the same position in the dark, I stick tape to the right corner of the paper. This allows me to manually fix the position of the print.


With all the preparations complete, it's time to start printing.
Step 03: Let's Start Darkroom Printing
From here, the work will be done under the safelight. However, for explanation purposes, I will demonstrate in a bright room.

As shown here, place the photographic paper at the bottom, then the digital negative on top of it, and press down with a glass plate. After that, proceed with the usual printing process.
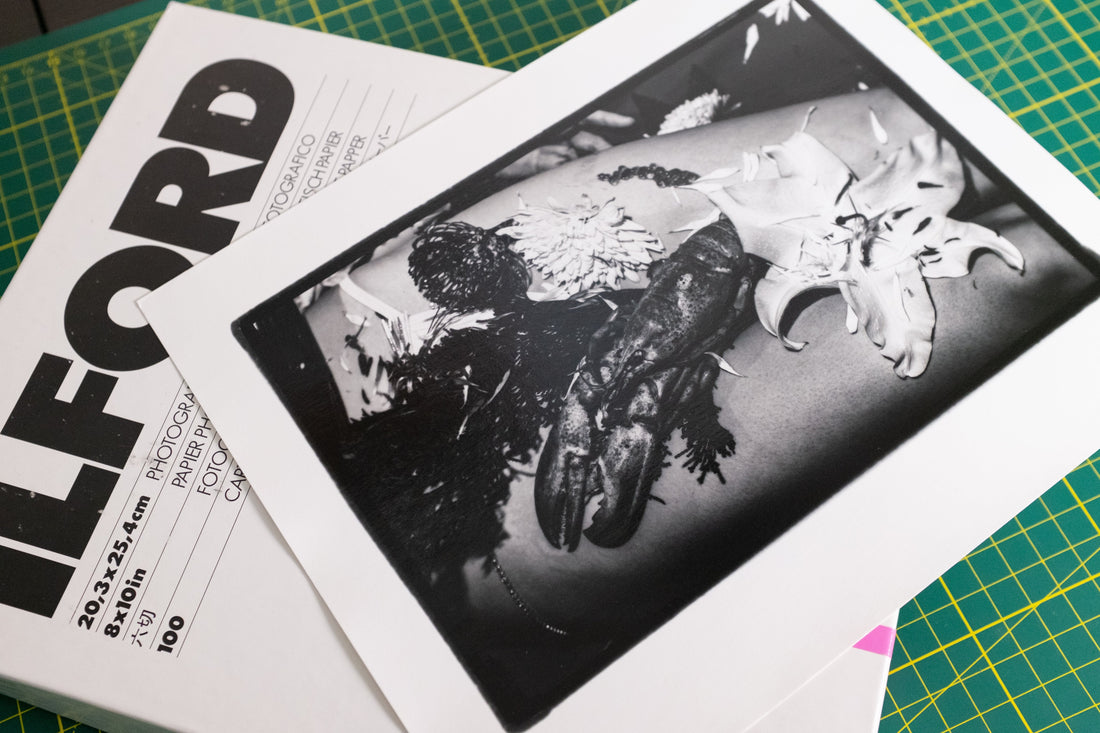
Here is the final print.

Printing an image taken with a digital camera in the darkroom may feel strange, but it's enjoyable in its own way.
By the way, my prints have sloppy borders. This is achieved by scraping the edges of the negative carrier.


The appearance of sloppy borders changes depending on how you scrape it, giving you the feeling of having your own unique stamp. (Some Japanese photographers in the past felt a virtue in not cropping the image, and some of them intentionally added sloppy borders.)
So, this is the method for printing photos taken with a digital camera in the darkroom. If anyone tries it out, please tag @_nuts.tokyo_ in your Instagram stories or posts and let me know.
Additionally, my zines and other noteworthy photographers' zines are currently on sale at FAR EAST DARKROOM, so please consider purchasing them to support our activities. Thank you for reading to the end! See you next time!